Tri Tip Two Ways – Delicious Grilled and Smoked Recipes
Tri Tip is a culinary revelation, a cut of beef that consistently delivers incredible flavor and tender texture without breaking the bank. For years, I’ve been captivated by the sheer versatility and deliciousness of tri tip. It’s the perfect centerpiece for a casual backyard barbecue or an elegant dinner party, and its humble origin extracts belie its impressive taste. What truly makes tri tip special is its ability to absorb marinades and seasonings, transforming into a juicy, flavorful masterpiece with minimal fuss. Whether you’re a seasoned grill master or just starting your culinary journey, this cut offers a rewarding experience. Today, we’re diving into two distinct and utterly delicious ways to prepare tri tip, ensuring you’ll find a new favorite method to add to your repertoire.
Why You’ll Love This Recipe:
We’re going to explore two mouthwatering approaches to preparing this fantastic cut. Get ready to elevate your beef game!
Tri Tip (2 Ways)
The tri-tip roast, a triangular cut from the sirloin of the cow, is a true gem for home cooks. It’s incredibly flavorful, relatively lean, and can be prepared in a multitude of ways. Today, we’re going to explore two of my favorite methods for cooking this versatile cut: a classic oven-roasted approach and a quick, high-heat sear on the stovetop, followed by a brief oven finish. Both methods deliver delicious results, offering you options based on your time and preference. Whether you’re a seasoned grill master or just starting out, the tri-tip is a forgiving and rewarding choice.
Ingredients:
Method 1: Classic Oven Roast
This method is fantastic for a hands-off approach, allowing the oven to do most of the work. It’s perfect for a weeknight meal or when you want to relax while dinner cooks. The key here is to get a nice sear on the roast before putting it in the oven to lock in those juices and develop a beautiful crust.
1. Prepare the Tri Tip: Begin extract by patting your tri-tip roast completely dry with paper towels. This is a crucial step for achieving a good sear, as excess moisture will steam the meat instead of searing it. In a small bowl, combine the garlic salt, Lawry’s seasoning salt, kosher salt, black pepper, sugar, garlic powder, and parsley. This blend creates a savory and slightly sweet rub that adheres beautifully to the roast. Evenly coat the entire tri-tip with the seasoning blend, pressing it in gently to ensure it sticks.
2. Sear the Roast: Heat the olive oil in a large, oven-safe skillet (cast iron is ideal for this) over medium-high heat until it shimmers. Carefully place the seasoned tri-tip into the hot skillet, fat-side down if there’s a noticeable fat cap. Sear for about 3-4 minutes per side, until a deep golden-brown crust has formed. Don’t overcrowd the pan; if your skillet isn’t large enough, you might need to sear in batches. This searing step is where much of the flavor develops, so don’t rush it.
3. Oven Roasting: Preheat your oven to 400°F (200°C). Once seared on all sides, transfer the skillet with the tri-tip directly into the preheated oven. Roast for approximately 20-25 minutes for medium-rare, or about 15-18 minutes per pound. The internal temperature is your best guide; aim for 125-130°F (52-54°C) for medium-rare, 130-135°F (54-57°C) for medium. Use an instant-read thermometer inserted into the thickest part of the roast, avoiding bone or fat.
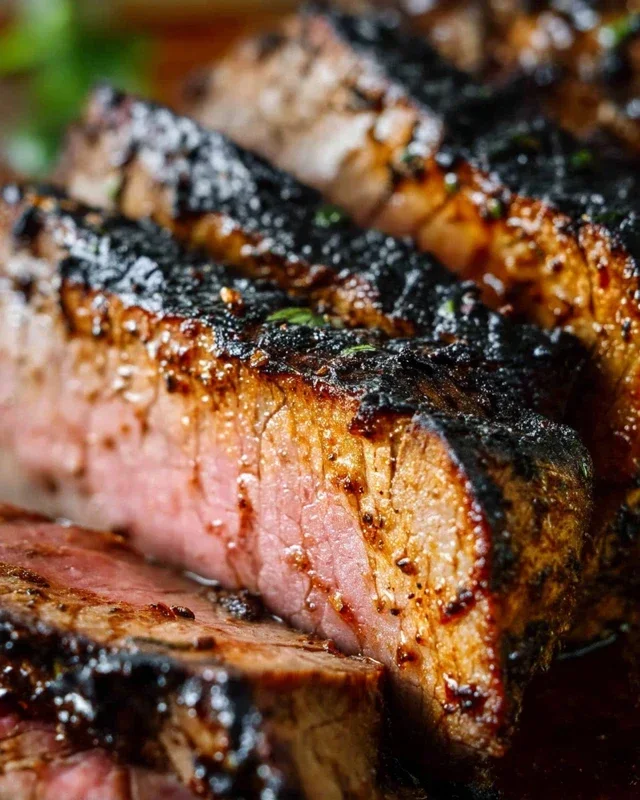
4. Rest and Slice: Once the roast reaches your desired temperature, remove it from the oven and transfer it to a cutting board. Tent it loosely with aluminum foil and let it rest for at least 10-15 minutes. This resting period is absolutely vital. It allows the juices to redistribute throughout the meat, ensuring every slice is moist and tender. Cutting into the roast too soon will result in all those delicious juices running onto the cutting board, leaving you with a dry piece of meat. After resting, slice the tri-tip thinly against the grain. You’ll notice the grain runs in different directions on a tri-tip, so pay attention to slice it correctly for maximum tenderness.
Method 2: High-Heat Sear and Oven Finish
This method is a little more hands-on and is perfect for when you want to get dinner on the table relatively quickly while still achieving a fantastic crust and juicy interior. It mimics some of the benefits of grilling.
1. Prepare the Tri Tip: Follow the same preparation steps as Method 1: pat the tri-tip dry and apply the seasoning blend evenly. Ensure all sides are well-coated.
2. Sear on the Stovetop: Heat 2 tablespoons of olive oil in a heavy-bottomed, oven-safe skillet (cast iron is again your best friend here) over high heat until it’s very hot and just starting to smoke. Carefully place the seasoned tri-tip into the skillet. Sear for about 2-3 minutes per side, focusing on developing a deep, dark crust. You want to get a really good sear here. Be cautious of splattering oil.
3. Oven Finish: Once you’ve achieved a nice sear on all sides, transfer the skillet immediately into a preheated oven at 425°F (220°C). Roast for approximately 15-20 minutes, or until the internal temperature reaches 125-130°F (52-54°C) for medium-rare. This higher oven temperature helps to finish the cooking quickly while maintaining the crust you worked so hard to create.
4. Rest and Slice: Just like with the oven-roasted method, resting is paramount. Remove the tri-tip from the oven, tent it loosely with foil, and let it rest for 10-15 minutes. This allows the juices to settle and redistribute. Slice thinly against the grain for the most tender and enjoyable experience.
Both of these methods will yield a delicious tri-tip roast. The classic oven roast offers a bit more predictability and less active cooking time, while the high-heat sear and oven finish provides a quicker route to a fantastic meal with an impressive crust. Enjoy experimenting with these two approaches!
Conclusion:
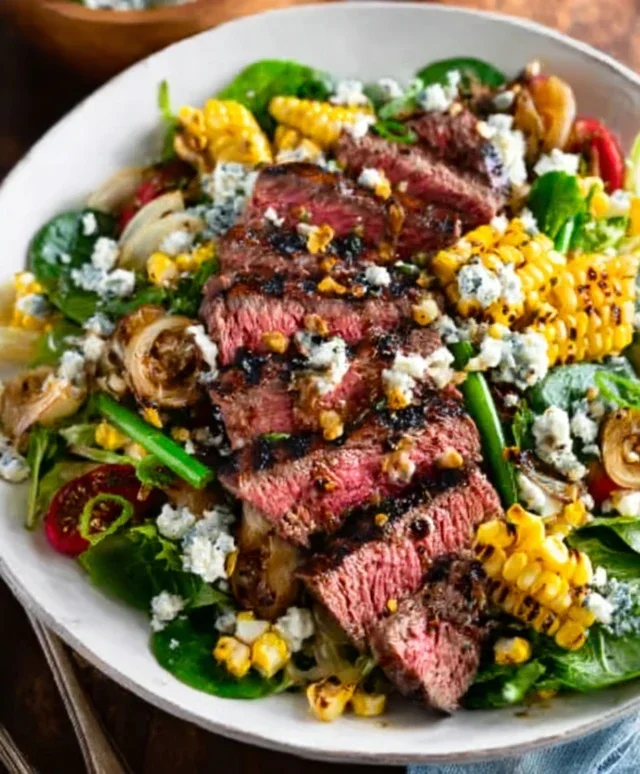
So there you have it – two fantastic ways to prepare a Tri Tip that are sure to impress! Whether you opt for the classic grilled approach for that smoky char or the oven-roasted method for a perfectly tender interior, this cut of beef proves itself to be incredibly versatile and flavorful. Both recipes are relatively simple, allowing you to achieve restaurant-quality results in your own kitchen. I truly believe you’ll love how easy it is to elevate your dinner with this cut.
These tri tip preparations are wonderful served with a variety of sides. Think roasted potatoes, a fresh green salad, grilled asparagus, or even some creamy mashed potatoes. For variations, don’t hesitate to experiment with different marinades or spice rubs. A lemon-herb marinade can add a bright, fresh twist, while a spicy Cajun rub will bring some heat. I highly encourage you to give these recipes a try – I’m confident you’ll find them to be staples in your culinary repertoire.
Frequently Asked Questions:
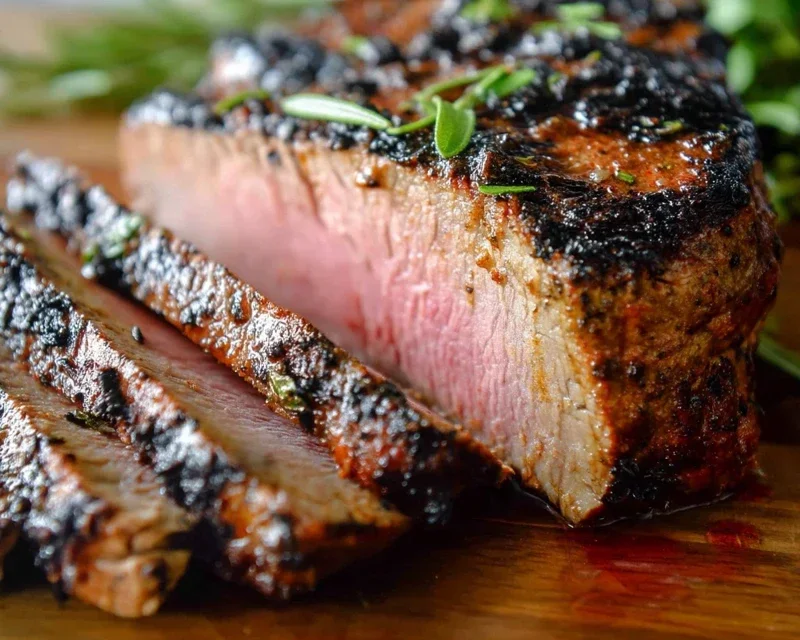
What is the best way to slice tri tip?
For the most tender bite, always slice your tri tip against the grain. You’ll notice the muscle fibers running in a particular direction. Slice thinly across those fibers. This breaks down the connective tissues, making the meat incredibly easy to chew and enjoy.
Can I marinate tri tip overnight?
Yes, absolutely! Marinating tri tip overnight is a fantastic way to infuse it with even more flavor. Just be mindful of acidic ingredients in your marinade, like citrus juice or vinegar. If you marinate for too long with highly acidic components, the meat can start to break down and become mushy. 12-24 hours is usually a good range.
What temperature should tri tip be cooked to?
For medium-rare, aim for an internal temperature of 130-135 degrees Fahrenheit (54-57 degrees Celsius). For medium, 135-145 degrees Fahrenheit (57-63 degrees Celsius) is ideal. Always use a meat thermometer to ensure accuracy and allow the tri tip to rest for at least 10-15 minutes after cooking before slicing to redistribute the juices.
Tri Tip (2 Ways)
A versatile tri tip roast prepared two distinct ways, offering a flavorful and satisfying meal.
Ingredients
-
2 & 1/2 pound tri tip roast
-
1 & 1/2 teaspoons garlic salt
-
1 tablespoon Lawry’s seasoning salt
-
1 & 1/2 teaspoons kosher salt (Diamond Crystal)
-
1 teaspoon black pepper
-
1/2 teaspoon sugar
-
2 teaspoons garlic powder
-
1 tablespoon dried or fresh parsley
-
1/4 cup olive oil
Instructions
-
Step 1
Preheat your oven to 400°F (200°C) or prepare your grill for medium-high heat. -
Step 2
In a small bowl, combine garlic salt, Lawry’s seasoning salt, kosher salt, black pepper, sugar, garlic powder, and parsley to create the seasoning blend. -
Step 3
Rub the tri tip roast all over with olive oil, then generously coat with the prepared seasoning blend. -
Step 4
For Way 1 (Oven Roasting): Place the seasoned tri tip on a baking sheet and roast for 30-40 minutes, or until the internal temperature reaches 130-135°F (54-57°C) for medium-rare. Let rest for 10 minutes before slicing. -
Step 5
For Way 2 (Grilling): Sear the seasoned tri tip over medium-high heat for 3-4 minutes per side. Reduce heat to medium and continue grilling for 20-30 minutes, or until the internal temperature reaches 130-135°F (54-57°C) for medium-rare. Let rest for 10 minutes before slicing. -
Step 6
Slice the tri tip against the grain for maximum tenderness.
Important Information
Nutrition Facts (Per Serving)
It is important to consider this information as approximate and not to use it as definitive health advice.
Allergy Information
Please check ingredients for potential allergens and consult a health professional if in doubt.