Easy Mongolian Beef Recipe- Quick & Delicious Dinner
Mongolian Beef is a dish that sparks instant craving and brings back a wave of delicious memories for so many of us. It’s that perfect balance of savory, slightly sweet, and wonderfully savory that just keeps you coming back for more. What is it about this seemingly simple stir-fry that captures our hearts and taste buds so effectively? It’s the irresistible glossy sauce that clings to every tender bite of beef, the subtle hint of gin extractger and garlic, and that satisfying chew of perfectly cooked noodles or rice it’s often served with. My absolute favorite thing about making Mongolian Beef at home is achieving that restaurant-quality flavor without the fuss. You get that satisfying caramelized crust on the beef, and the sauce itself is a symphony of flavors that’s surprisingly easy to recreate. Get ready to impress yourself and your loved ones with this incredible, crowd-pleasing Mongolian Beef recipe!
Ingredients:
How to Make Mongolian Beef
Mongolian Beef. The name alone conjures up images of bustling street food stalls and savory, craveable flavors. It’s a dish that’s both incredibly satisfying and surprisingly straightforward to make at home. The magic lies in the tender, thinly sliced beef coated in a glossy, slightly sweet and savory sauce. This recipe breaks down the process so you can achieve that restaurant-quality taste with ease. Let’s get started!
Preparing the Beef
The foundation of great Mongolian Beef is well-prepped, tender beef. For this recipe, we’re using flank steak. The key is to slice it thinly against the grain. This breaks up the connective tissues, ensuring a melt-in-your-mouth texture. If you have a bit of trouble slicing cold beef, pop it in the freezer for about 20-30 minutes; it makes slicing much cleaner and easier.
Once your beef is sliced, we’ll marinate it to further enhance its tenderness and flavor. In a medium bowl, combine the thinly sliced beef with 2 tablespoons of water. This might seem unusual, but the water helps the other ingredients penetrate the meat. Next, add 2 teaspoons of Shaoxing rice vinegar, ½ teaspoon of Kosher salt, and ¼ teaspoon of baking soda. The baking soda is another crucial tenderizer. Don’t worry, it won’t impart any off-flavors when used in these small amounts. Give everything a good mix, ensuring each slice is coated. Let this marinate for at least 15 minutes at room temperature, or up to 30 minutes.
After the marinating time, drain any excess liquid from the beef. Now, it’s time to add the cornstarch. Sprinkle 2 tablespoons of cornstarch over the beef and toss thoroughly until every piece is evenly coated. This cornstarch coating is what will give the beef that signature slightly crispy exterior when it’s fried, and it also helps thicken the sauce later. You can also add the 1 tablespoon of oil and 1 teaspoon of cracked black pepper to the beef at this stage and toss to coat. This adds another layer of flavor and helps prevent the beef from sticking together during cooking.
Crafting the Mongolian Sauce
While the beef is marinating, we can prepare the star of the show: the Mongolian sauce. This sauce is wonderfully balanced, hitting those sweet, savory, and slightly tangy notes that make this dish so addictive. In a small bowl, whisk together 1 tablespoon of Shaoxing rice vinegar, 3 tablespoons of granulated sugar, and 2 tablespoons of regular soy sauce. Stir until the sugar is mostly dissolved. This simple combination forms the flavor base of our sauce. Set this aside for now.
Cooking the Dish
Now that our beef is prepped and our sauce is ready, it’s time to bring it all together. We’ll be cooking this dish in stages to ensure each component is perfectly cooked.
First, heat 1 tablespoon of oil in a wok or a large skillet over medium-high heat. Once the oil is shimmering hot, carefully add the marinated and cornstarch-coated beef in a single layer. It’s important not to overcrowd the pan, so if your skillet isn’t large enough, cook the beef in batches. This allows the beef to sear properly rather than steam, creating that desirable texture. Cook for about 1-2 minutes per side, until it’s browned and slightly crispy. The beef will still be a little pink inside, which is perfectly fine as it will continue to cook in the sauce. Remove the cooked beef from the skillet and set it aside on a plate.
In the same skillet, if there’s any excess oil, you can carefully pour most of it off, leaving about a tablespoon. Add your sliced yellow onion and the white parts of your green onions to the skillet. Stir-fry for about 2-3 minutes, until the onions begin extract to soften and become slightly translucent. This adds a pleasant sweetness and aromatic base to the dish.
Now, add the minced garlic to the skillet and stir-fry for another 30 seconds until fragrant. Be careful not to burn the garlic, as this can make it bitter.
Pour the prepared Mongolian sauce mixture into the skillet with the onions and garlic. Bring the sauce to a simmer, stirring constantly. As the sauce heats up, it will start to thicken slightly from the cornstarch that adhered to the beef.
Return the cooked beef to the skillet, along with the green parts of the green onions. Toss everything together to coat the beef and onions evenly with the glossy sauce. Cook for another 1-2 minutes, allowing the beef to finish cooking and the sauce to thicken to your desired consistency. If you find the sauce is too thick, you can add a tablespoon or two of water to thin it out. Conversely, if it’s too thin, you can mix a teaspoon of cornstarch with a tablespoon of water and stir it into the simmering sauce.
Serving Your Mongolian Beef
For an authentic touch, you can prepare the optional rice vermicelli. Cook the rice vermicelli according to package directions, usually by soaking them in hot water for a few minutes. Drain them well.
To serve, you can either arrange the cooked rice vermicelli on the bottom of your serving plates and spoon the Mongolian Beef mixture over the top, or you can gently toss the drained vermicelli directly into the skillet with the beef and sauce for a more integrated dish. This adds a delightful textural contrast to the tender beef and crisp-tender onions.
Serve your homemade Mongolian Beef immediately. It’s fantastic served over steamed white rice for a complete and satisfying meal. Enjoy the delicious combination of savory, sweet, and tender goodness!
Conclusion:
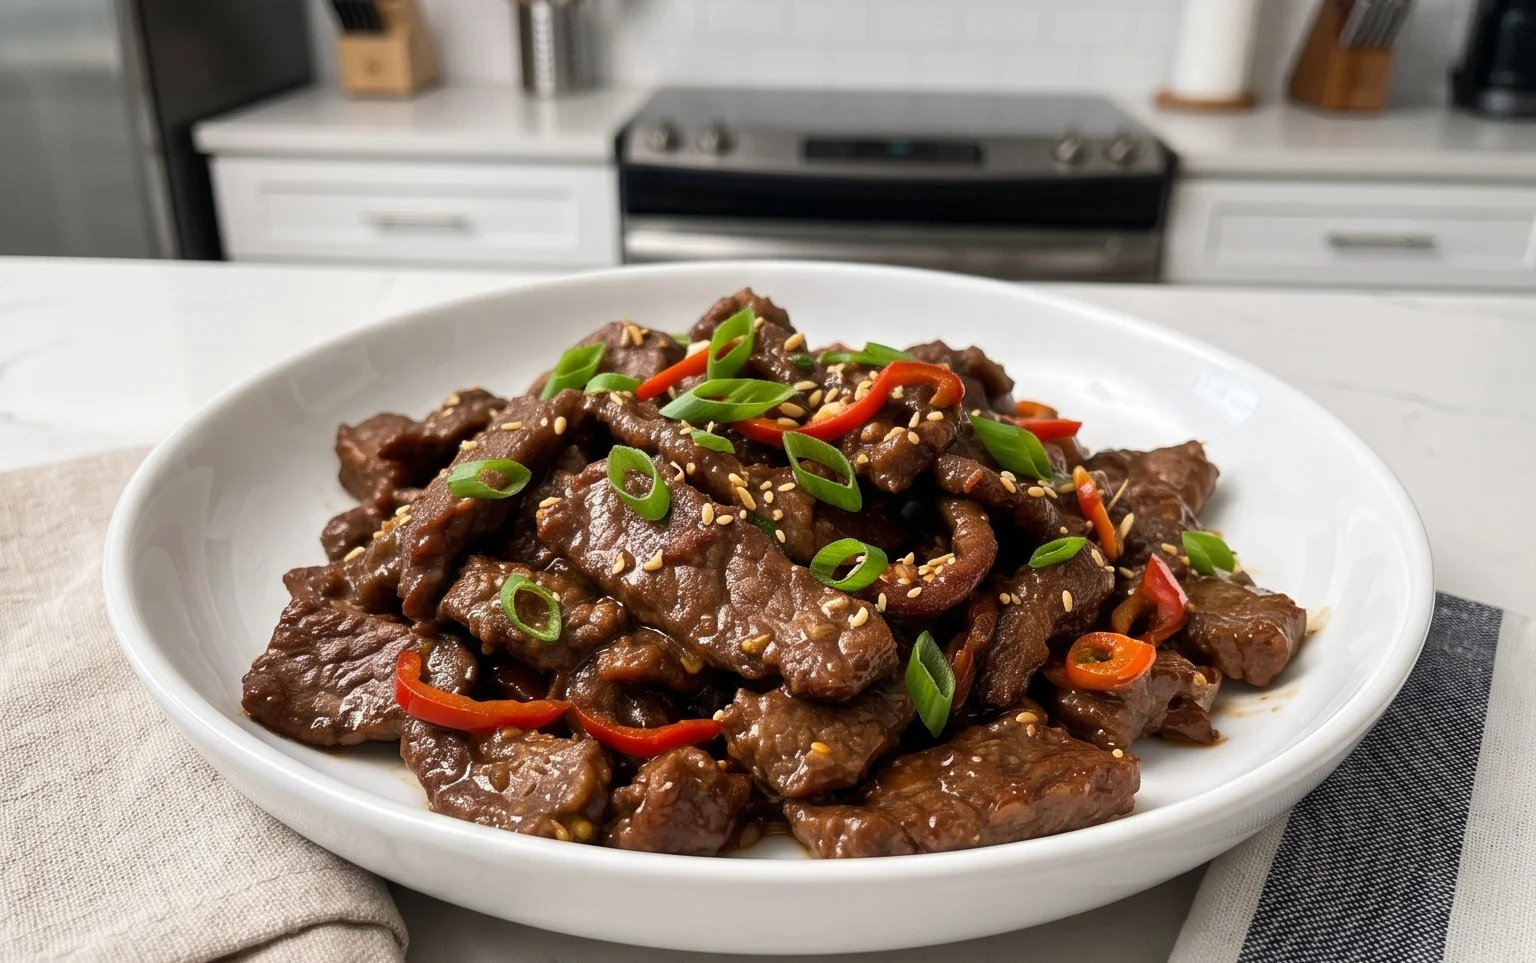
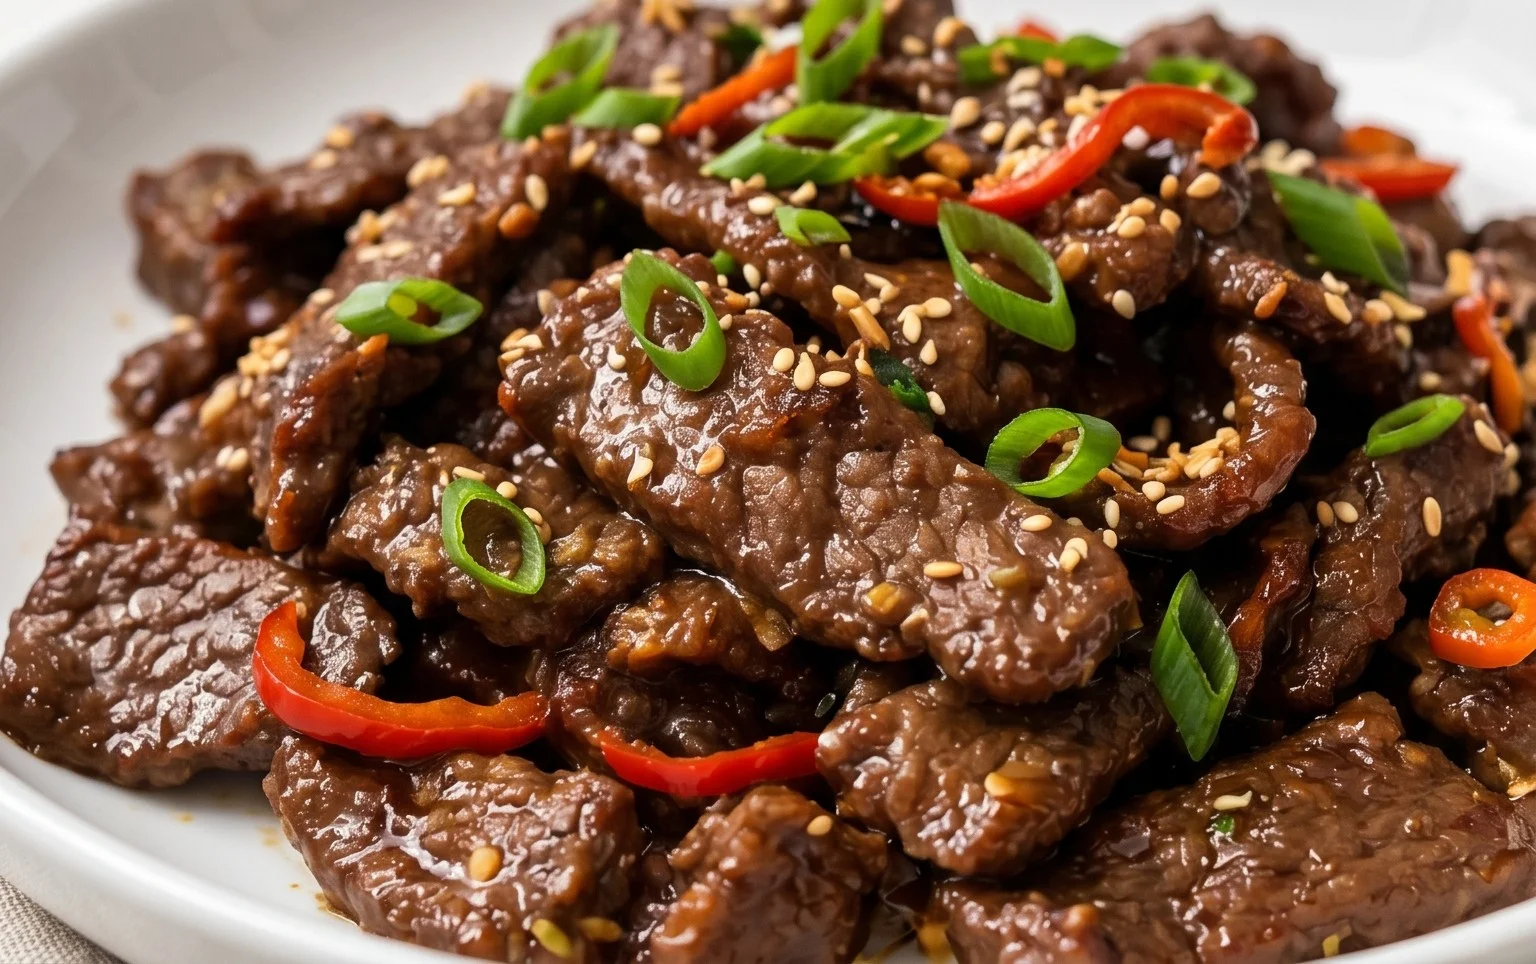
So there you have it, your guide to creating a truly sensational Mongolian Beef right in your own kitchen! We’ve explored how this recipe is a winner because it strikes that perfect balance between savory, sweet, and a hint of spice, with tender strips of beef coated in a luscious, irresistible sauce. It’s surprisingly straightforward to make and delivers restaurant-quality flavor that will impress everyone around your table. I encourage you to give this Mongolian Beef recipe a try; it’s a fantastic way to elevate your weeknight meals or entertain guests with a beloved Chinese-American classic.
Serve this flavorful Mongolian Beef piping hot alongside fluffy steamed white rice, perfect for soaking up every last drop of that delicious sauce. For an added crunch and freshness, consider garnishing with thinly sliced green onions and toasted sesame seeds. If you’re feeling adventurous, you can easily adapt this recipe! Try swapping beef for thinly sliced chicken or even firm tofu for a vegetarian option. For a spicier kick, add a pinch of red pepper flakes or a tablespoon of Sriracha to the sauce. The possibilities are endless, and the reward is always a deeply satisfying meal.
Frequently Asked Questions:
Can I make the sauce ahead of time?
Absolutely! The sauce for Mongolian Beef can be made a day or two in advance and stored in an airtight container in the refrigerator. This can be a great time-saver for busy weeknights. Just give it a good stir before using, as some separation might occur.
What kind of beef is best for this recipe?
For the most tender results in Mongolian Beef, I recommend using flank steak, sirloin steak, or even skirt steak. The key is to slice the beef thinly against the grain, which helps to break down the connective tissues and ensures a melt-in-your-mouth texture.
How can I make this recipe healthier?
To make this Mongolian Beef a bit healthier, you can reduce the amount of sugar in the sauce slightly and opt for low-sodium soy sauce. Using less oil for stir-frying and serving with brown rice or a generous portion of steamed vegetables like broccoli or snow peas can also contribute to a healthier meal.
Mongolian Beef
A popular Chinese-American stir-fry dish featuring tender beef in a savory and slightly sweet sauce, often served with rice. This version uses pork tenderloin and a non-alcoholic substitution for Shaoxing wine.
Ingredients
-
1 pound pork tenderloin (thinly sliced (between ⅛ to ¼ inch thick))
-
2 tablespoons water
-
2 teaspoons rice vinegar
-
½ teaspoon Kosher salt ((a little less if using fine salt))
-
¼ teaspoon baking soda
-
2 tablespoons cornstarch
-
1 tablespoon oil (any neutral oil)
-
1 teaspoon cracked black pepper (more or less to taste)
-
1 tablespoon rice vinegar
-
3 tablespoons granulated sugar
-
2 tablespoons regular soy sauce
-
1 tablespoon garlic (minced (about 2 cloves))
-
½ large yellow onion (sliced)
-
1 bunch green onion (cut into 2 inch pieces (separate the white and green parts))
-
1 ounce rice vermicelli (medium thickness (optional; use more or less to preference))
Instructions
-
Step 1
In a bowl, combine the thinly sliced pork with 2 tablespoons water, 2 teaspoons rice vinegar, ½ teaspoon Kosher salt, and ¼ teaspoon baking soda. Mix well and let marinate for at least 10 minutes. -
Step 2
Add 2 tablespoons cornstarch to the marinated pork and toss to coat evenly. Set aside. -
Step 3
In a separate small bowl, whisk together 1 tablespoon rice vinegar, 3 tablespoons granulated sugar, and 2 tablespoons regular soy sauce for the sauce. Set aside. -
Step 4
Heat 1 tablespoon of neutral oil in a wok or large skillet over medium-high heat. Add the coated pork and stir-fry until browned on all sides. Remove pork from the wok and set aside. -
Step 5
Add the minced garlic and sliced yellow onion to the wok. Stir-fry for about 1-2 minutes until fragrant and the onion begins to soften. -
Step 6
Return the cooked pork to the wok. Pour the prepared sauce over the pork and vegetables. Add the cracked black pepper and the white parts of the green onions. Stir to coat everything evenly and cook for another 2-3 minutes until the sauce has thickened. -
Step 7
Stir in the green parts of the green onions. If using, add the cooked rice vermicelli and toss to combine.
Important Information
Nutrition Facts (Per Serving)
It is important to consider this information as approximate and not to use it as definitive health advice.
Allergy Information
Please check ingredients for potential allergens and consult a health professional if in doubt.